Calendar Mobile Sync
Available for Liferay 7 and Liferay DXP!
What can you do with Calendar Mobile Sync on Liferay?
CalDAV Sync plugin let's you access your Liferay calendar from any CalDAV enabled client. We support the following clients: iPhoneiPadMac Calendar AppThunderbirdAndroid (requires third party app)Outlook (requires third party app)
 Visualizzazione Contenuto Web
How to use Calendar Mobile Sync
 Portlet Annidate
 Visualizzazione Contenuto Web
 Visualizzazione Contenuto Web
Setup
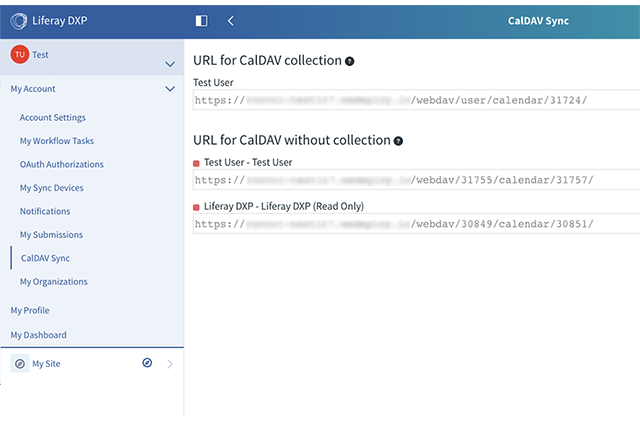
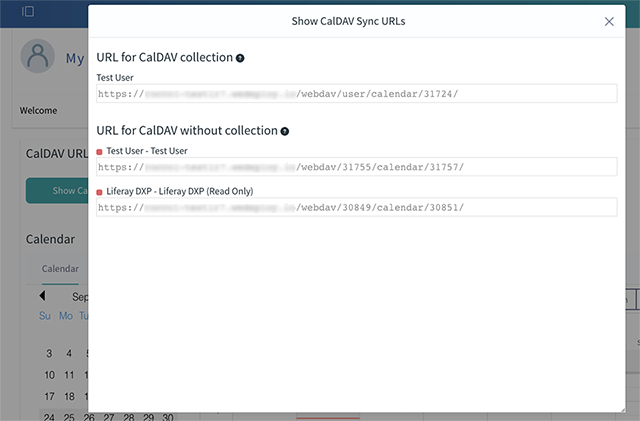
To enable each user to configure his/her client, they need to get the CalDAV URL for the different calendars they have access to.
If a user has access to the control panel, he/she can get the CalDav URL from "My account" → "CalDAV Sync".
Otherwise we can use the "CaldDAV URL Display" portlet which is included and place it on a page.
 Visualizzazione Contenuto Web
Client configuration
Go to "Settings" and tap on "Account & password"
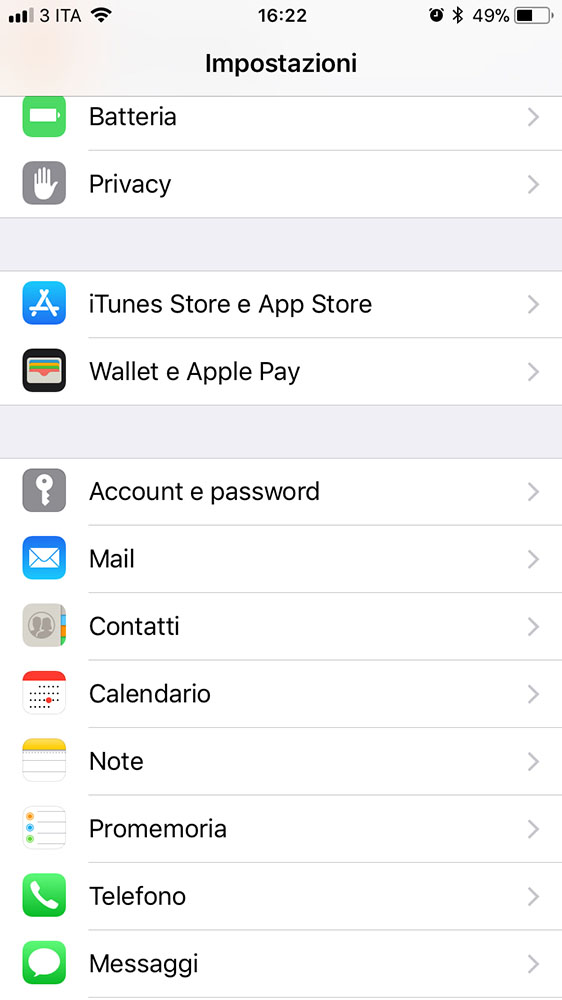
Tap on "Add account"
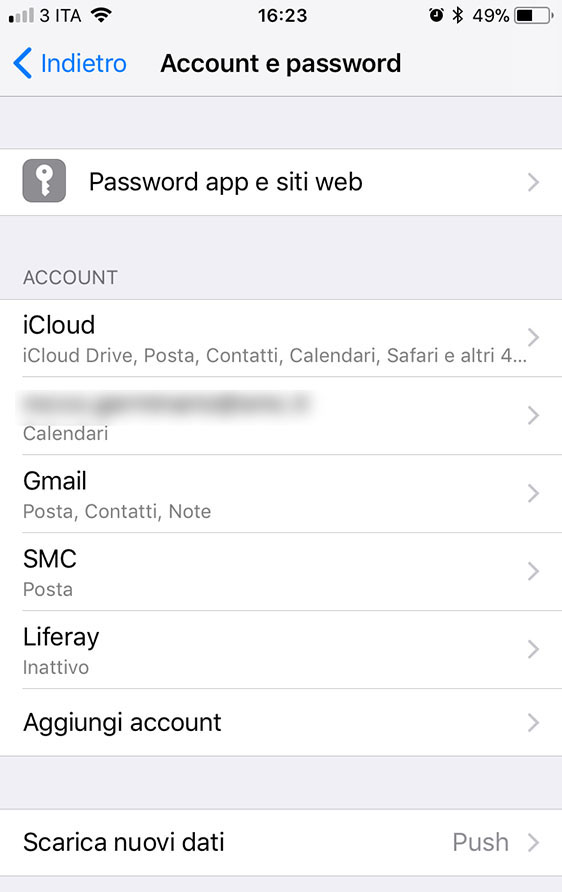
Choose "Other"
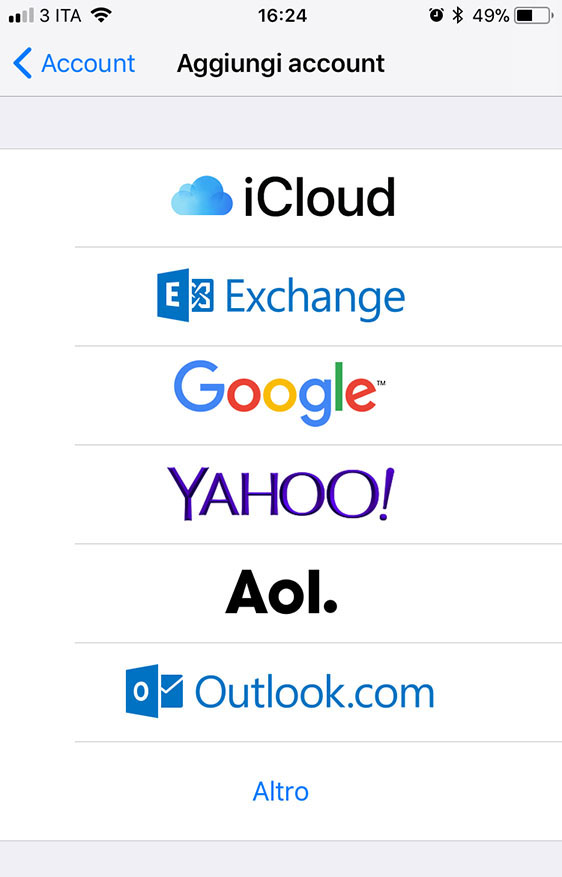
Choose "Add LDAP account"
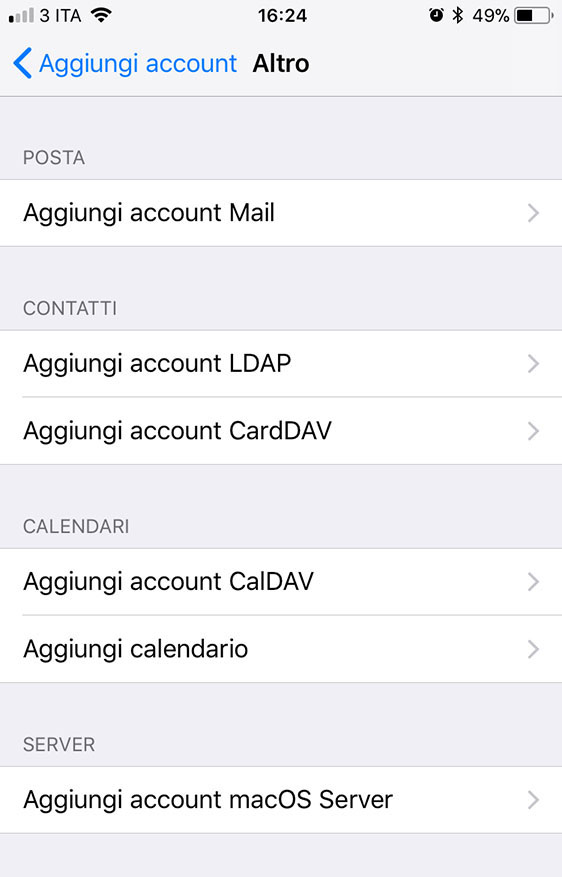
Enter the CaldDAV URL (copied from "CaldDAV URL Display" portlet), and type the user's credendials.
Use the "URL for CalDAV Collection" to see all the available calendars.
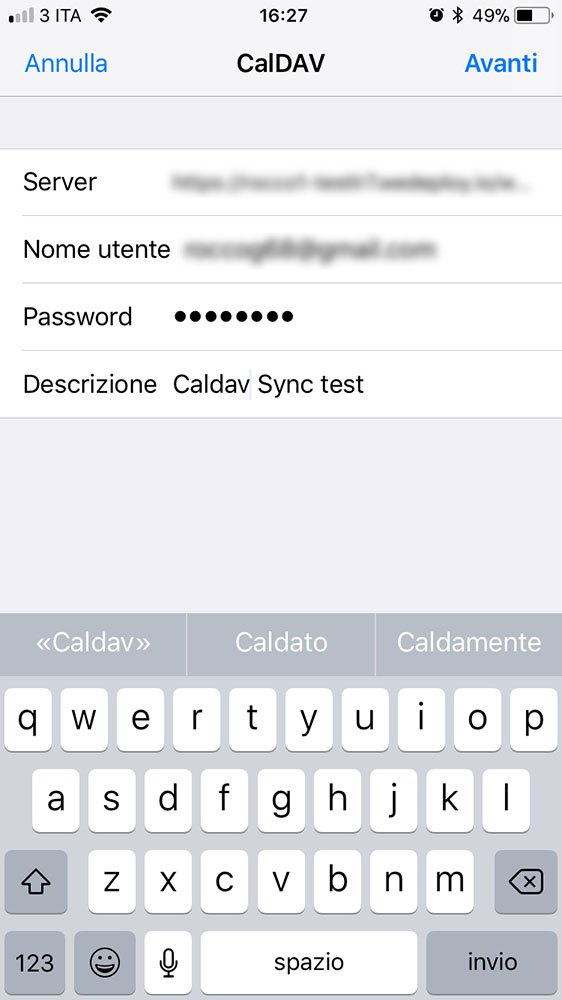
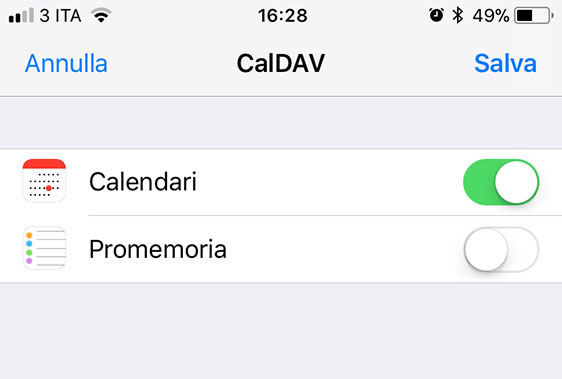
Deselect "Reminders" and save.
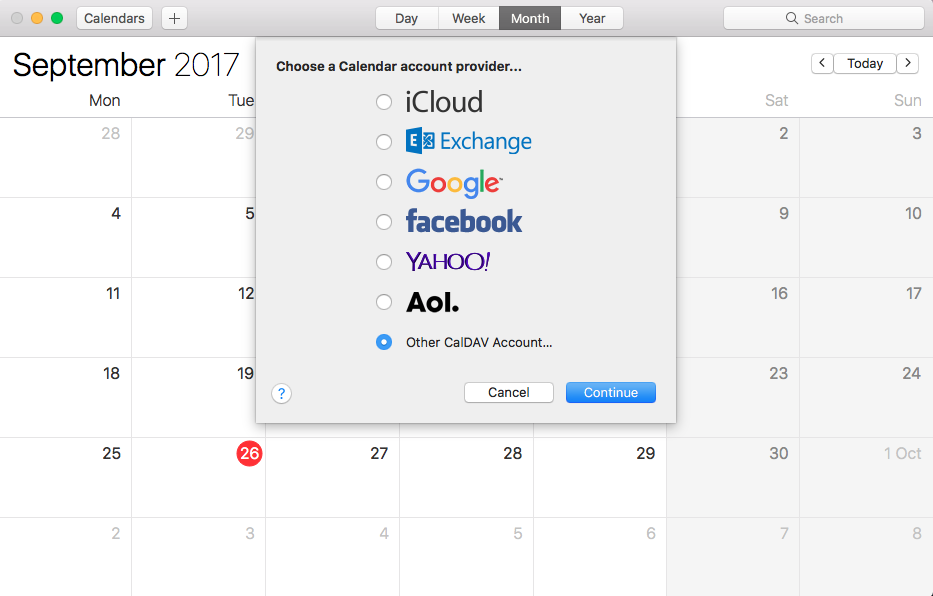
Click on "Calendar" → "Add account..."
Choose "Other CalDAV Account" and continue
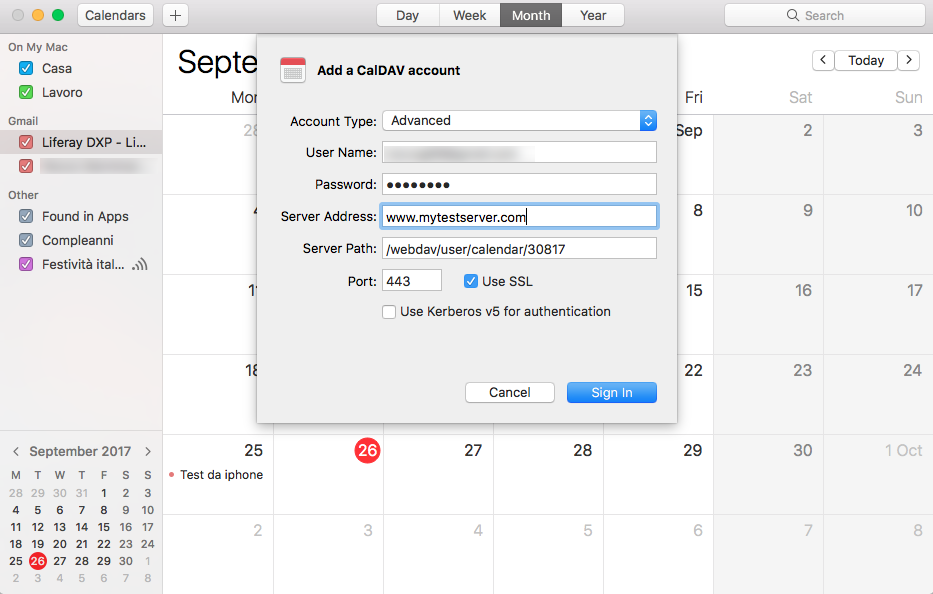
Choose "Advanced" account type, enter user name and password
Enter the server host name in "Server Address" (the first part of the URL copied from "CaldDAV URL Display" portlet).
Enter the path in server path (the last part of the URL copied from "CaldDAV URL Display" portlet).
Enter also the port number (usually 80 for http and 443 for https); if necessary check "Use SSL" and sign in.
Select in the "Calendars pane" which calendars you want to see.
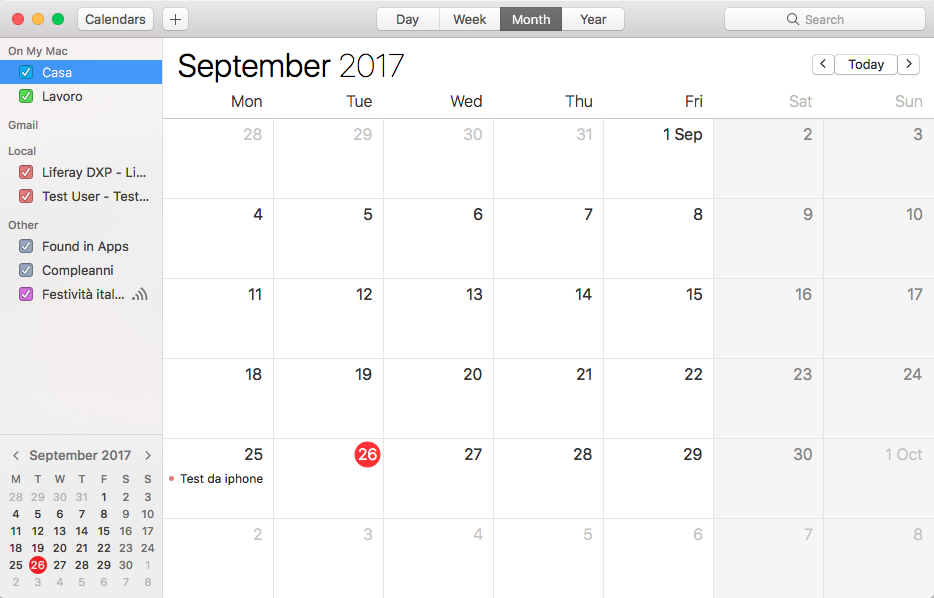
Click on "File" → "New" → "Calendar..."
Choose "On the network" and click "Next"
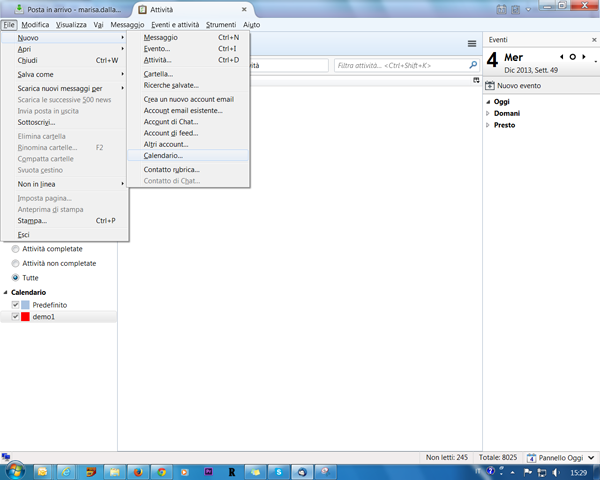
Choose CalDAV and enter the URL copied from "CaldDAV URL Display" portlet
Enter the user's credentials, when prompted
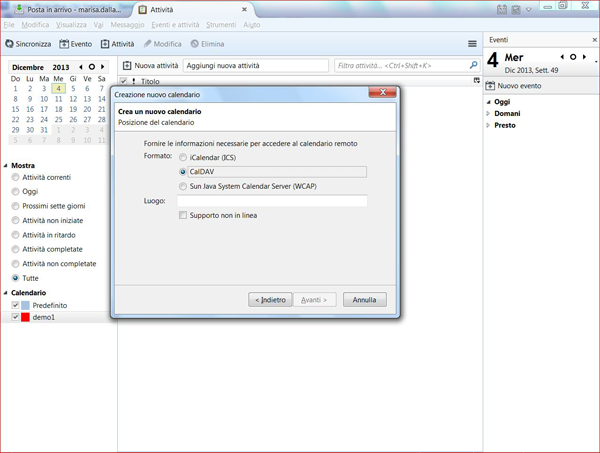
To use CalDAV calendars on Android, you need to install a third party extenstion. Try searching "CaldDav" on Google Play and find suitable app.
Go to "Settings" and click on "Add account"
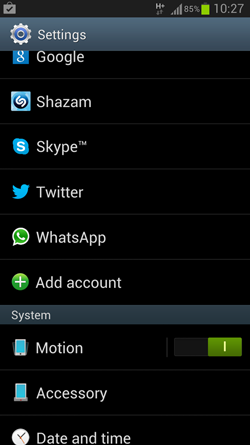
Select the account type, based on the extension that you have installed.
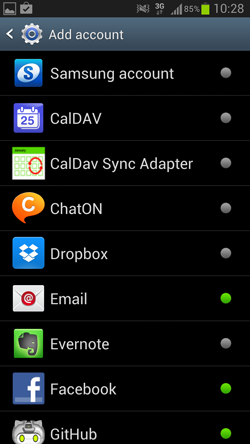
Choose CalDAV (depends on the extension that you're using)
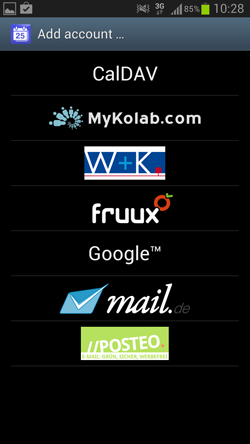
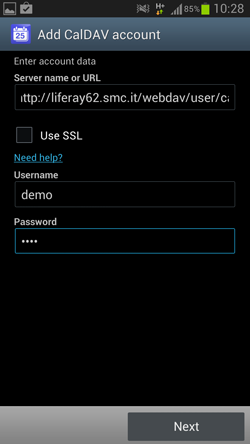
Enter the URL copied from "CaldDAV URL Display" portlet and finally the user's credentials
Install "Outlook CalDav Synchronizer" from here
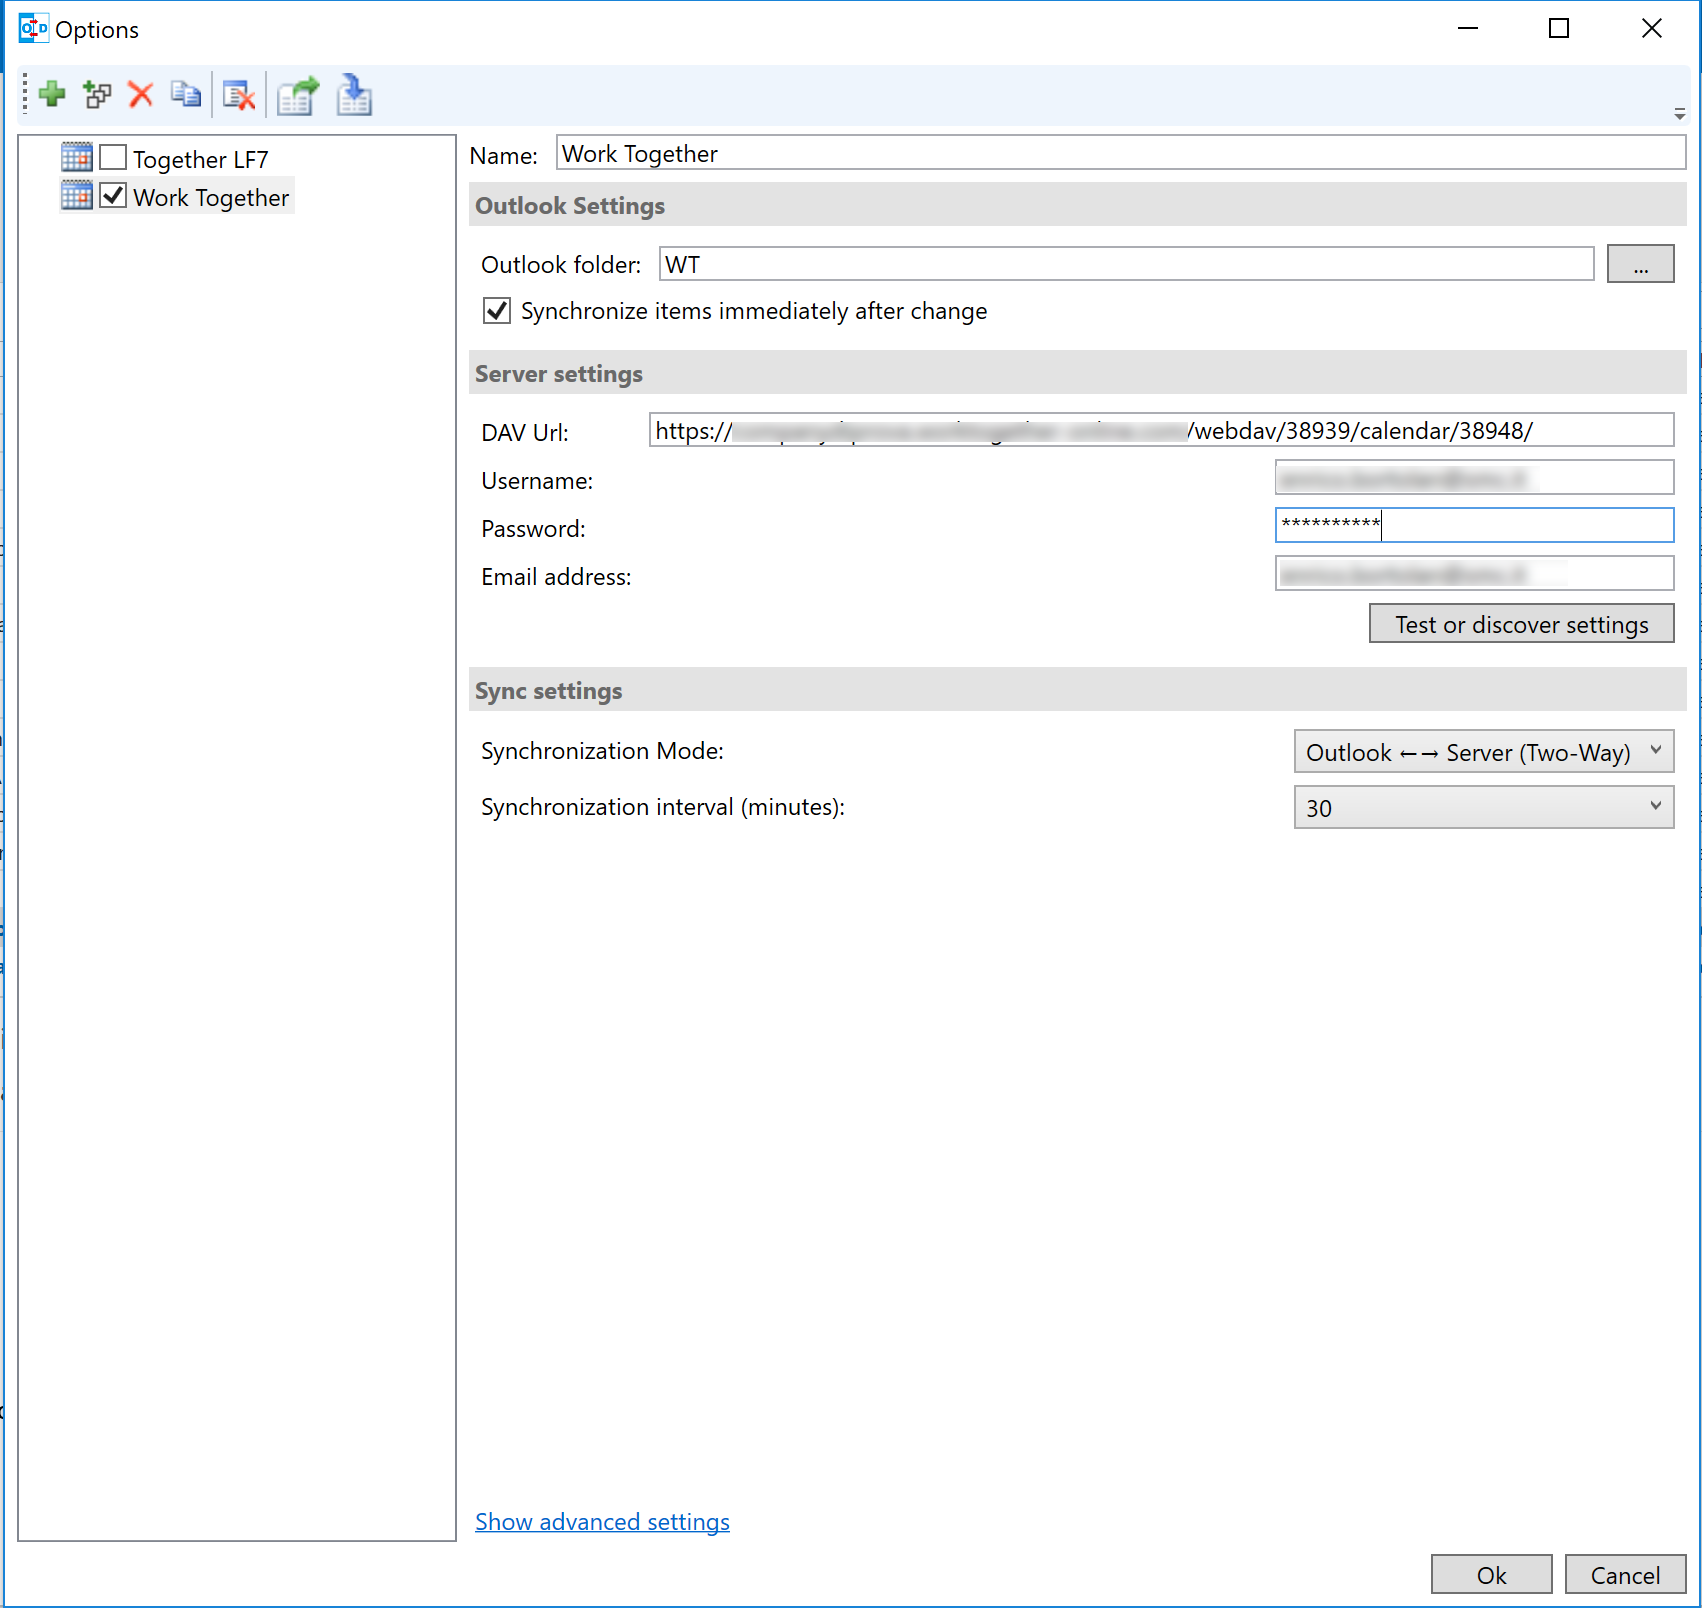
Click on "CalDav Synchronizer"" → "Synchronization Profiles"
Click on "+" to create a new profile

Enter the URL copied from "CaldDAV URL Display" portlet and finally the user's credentials
 Portlet Annidate
 Visualizzazione Contenuto Web

Developer
Rocco Germinario
Email: rocco.germinario@smc.it
Skype: smctv.rocco.germinario
Phone: +39 0422 608043


